


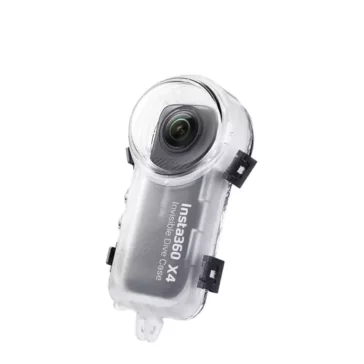
Insta360 X3 Dive Case CINSBAQC Overview
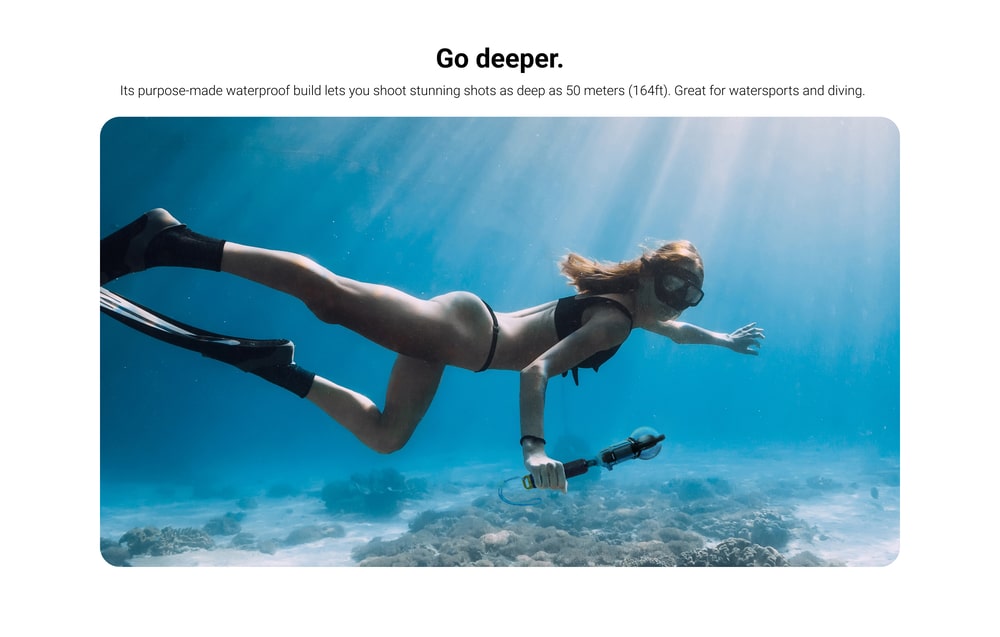
Film diving shots from deep below the surface of the water using this Dive Case from Insta360. Custom-fit to your X3 camera, the clear case maintains visibility of your touchscreen to monitor your video while allowing you to continue using the button controls. It has a waterproof depth of 164′ and features a built-in 2-prong mount which can be adapted to a 1/4″-20 compatible thread with the included mount adapter.

How to Use
1. Open the Case
Lift the buckle as shown below, then pull it down to remove from the hook. Repeat with the other buckle. When both sides are disengaged, open the Dive Case.
2. Insert the Anti-Fog Sheet
Ensure that the anti-fog sheet is inserted as shown below.
Note: When using third-party anti-fog sheets, ensure that the size is within 48.4*12.4*1.2mm. If the sheet is too large, it will cause water leakage and potentially damage the camera.
3. Insert the Camera
First, install the Dive Case’s upper cover. Then install the Dive Case’s lower cover.
Note: 1) When using the camera in water, please lock the touch screen to avoid accidental commands. Press Button (Power Button) on the side to switch shooting modes. 2) Remove the Sticky Lens Guard and use the X3 Dive Case for best results. When inserting the camera, take care not to scratch the lenses.
4. Close the Case
To close the Dive Case, latch the buckle onto the case’s hook and firmly push it down until it clicks.
Note:
1) Ensure the Dive Case is firmly closed. Be sure that the parts of the Dive Case in contact with its rubber seal are free of dirt and dust. 2) For the best results, keep the dome lenses of the Dive
Case clean.
5. Attach the Stabilizer Ring
When connecting the Dive Case to other accessories, such as the floating hand grip, be sure to stick a stabilizer ring to the screw points.
6. Stitch
After shooting with the Dive Case, access the Insta360 *3 files via the Insta360 app or Insta360 Studio. The files will automatically be selected as Stitch for Dive Case


Reviews
There are no reviews yet.